Drying Wild Mushrooms at Home: Dehydrator, Oven, and Air-Drying Methods
Wild mushrooms arrive in flushes, not in tidy weekly portions. One good afternoon can fill a basket with more boletes than you could cook in a week, and drying is how you turn that surplus into something you are still using in February. It also concentrates flavour in a way freezing rarely matches — a small handful of dried chanterelles or porcini will carry an entire pot of risotto.
The three routes below all work. Which one suits you depends on the species, the weather, and what is already in your kitchen.
What Dries Well (and What Doesn't)
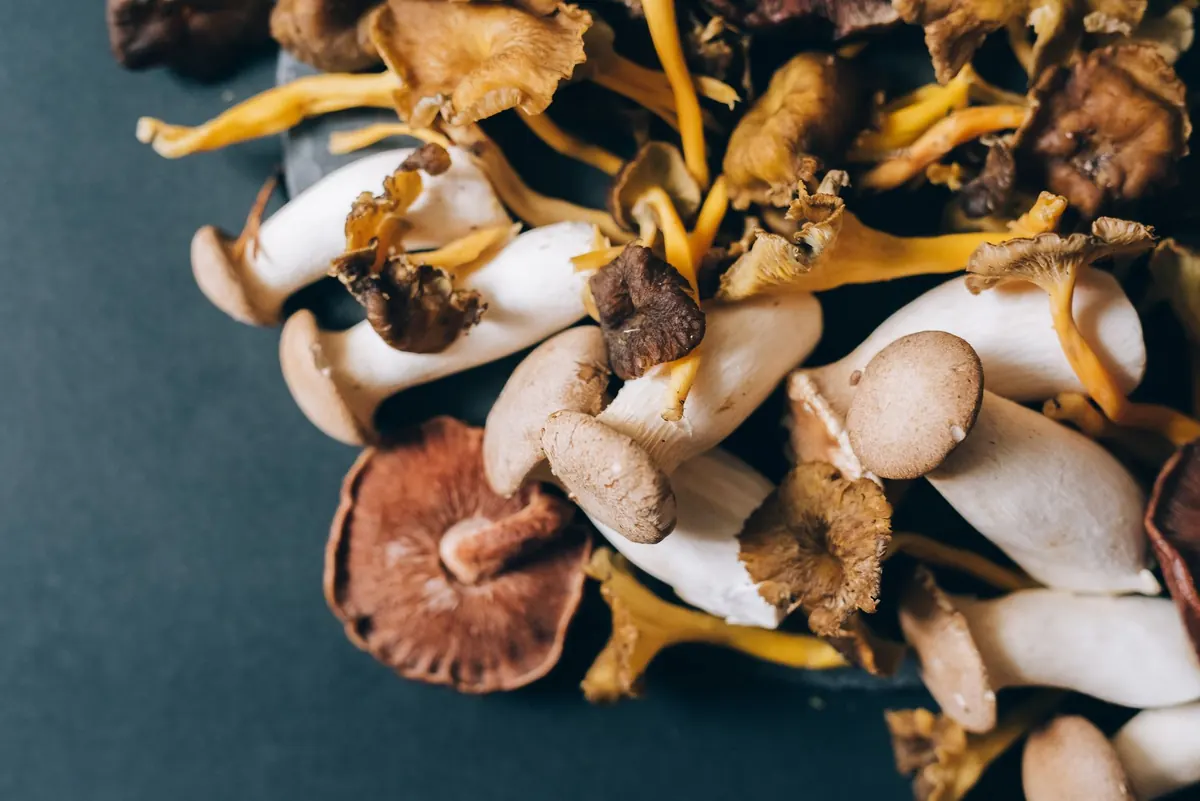
Thin-fleshed, firm, aromatic mushrooms are the dream candidates. Chanterelles, black trumpets, winter chanterelles, hedgehog mushrooms, morels, and most boletes dry beautifully and actually improve with the process. Chicken of the woods and cauliflower fungus also dry well, though both need thorough cooking before eating.
Others are more trouble than they are worth. Slimy-capped species turn leathery or sour unless peeled first, and soft, fast-decaying mushrooms such as many Agaricus and ink caps collapse into something closer to cardboard than food. If a mushroom is already past its best in the basket, drying will not rescue it.
Prep Work That Pays Off
Drying is mostly about removing water quickly, and every bit of dirt, moisture, or damage slows that down.
- Brush, don't wash. A soft pastry brush or a damp cloth handles most grit. If you must rinse, do it fast and pat dry immediately.
- Trim generously. Cut away the soiled base, any soft spots, and every tunnel you find. Larvae mean protein, but they also mean the mushroom will spoil faster.
- Cut for evenness, not beauty. A 4–5 mm slice dries at a predictable rate. Split large boletes lengthwise; halve chanterelles if they are fat; leave small trumpets and morels whole.
- Keep species separate. They dry at different speeds, smell different, and you want to label them properly later.
The Dehydrator Method
This is the most reliable option, and the one to choose if your climate is humid or your harvest is large.
- Lay slices in a single layer with a little space between them. Do not stack or overlap.
- Set the thermostat to roughly 40–50 °C (105–125 °F). Higher heat can cook the edges and trap moisture inside.
- Run for four to eight hours, checking from hour three. Thin species finish first — pull trays as they crisp and let the rest continue.
- Use a fine mesh liner for small pieces like black trumpets, which otherwise drop straight through the grate.
Rotate trays top to bottom halfway through if your machine does not have a fan at the back. If your dehydrator has no thermostat, buy a cheap oven thermometer and place it on a tray so you know what you are actually dealing with.
The Oven Method
An oven works, but only if you can hold it low. Most domestic ovens bottom out around 70 °C (160 °F), which is hotter than ideal, so the trick is ventilation and vigilance.
Set the oven to its lowest setting, then prop the door open a few centimetres with a wooden spoon or folded cloth. Arrange the mushrooms on a wire rack over a baking tray so air moves underneath. Expect three to six hours, with a turn every hour. If the mushrooms start to smell cooked rather than earthy, your oven is too hot — drop it or crack the door wider.
Do not use the oven for this job right after roasting meat. Residual grease will settle on the mushrooms and turn rancid in storage.
Air-Drying: Slow and Traditional
Air-drying needs no equipment and, for the right species, gives the best texture and aroma. It also needs the right conditions: warm, dry, dark, and genuinely well ventilated.
Thread mushroom slices onto clean cotton string with a needle, leaving gaps between them, and hang the strands in an airy room away from direct sun. Alternatively, spread them on mesh screens or a purpose-built drying rack. Never use newspaper — it insulates the underside and transfers ink.
Chanterelles, trumpets, and morels may take anywhere from several days to two weeks. In damp weather, air-drying stalls: if the mushrooms go limp and sour-smelling, or develop fuzz, throw them out. A wood-stove room, a dry attic, or a car parked in the sun all work surprisingly well. Avoid garages, where exhaust and solvent fumes linger.
Testing Dryness, Conditioning, and Storage
A dried mushroom should snap, not bend. If it feels cool and slightly damp against your cheek, or flexes like leather, it needs more time. Under-dried mushrooms are the single most common reason a jar of good foraging goes mouldy.
Once everything is brittle, condition the batch: loosely fill a glass jar, seal it, and shake it daily for three to four days. Any hidden moisture will migrate outward and show up as condensation on the glass. If you see it, return the lot to the dehydrator.
Then store it properly:
- Airtight glass jars, filled to the top to limit air space
- Whole pieces rather than powder — powder loses aroma quickly and clumps
- A cool, dark cupboard, away from the stove
- A food-safe desiccant sachet if you live somewhere humid
- A label with species and date; aim to use them within a year for best flavour
To use them, soak in warm water or milk for twenty to thirty minutes. Strain the liquid through a fine cloth — it is flavourful but often gritty — and add it to soups, sauces, or risotto.
Safety Notes to Keep in Front of You
Drying does not make an uncertain mushroom safe. It concentrates whatever is already there, and heat does not destroy the toxins in the most dangerous species. Only dry mushrooms you have identified with complete confidence, ideally confirmed by someone experienced in your region.
Skip anything growing beside busy roads, on sprayed lawns, or near industrial ground, since mushrooms can accumulate pollutants. Never eat wild mushrooms raw, and cook dried ones thoroughly. If you are trying a species for the first time, eat a small portion and wait a day.
If someone becomes unwell after eating wild mushrooms, keep a sample of the raw or dried material and seek medical advice promptly. When in doubt about identification, ask a local mycological group — most are generous with help, and a second pair of eyes is worth the wait.
Photo: Leeloo The First / Pexels
Beginner's Guide to Identifying Wild Raspberries, Blackberries, and Dewberries
Learn to tell wild raspberries, blackberries, and dewberries apart by fruit core, cane habit, leaves,...
How to Harvest Stinging Nettles Safely: Gloves, Timing, and Cooking
A practical guide to identifying, picking, blanching and cooking stinging nettles — with the gloves,...
About Us